Category Archives: Sewing

Pant’s Revival

Who’s ready for another Anthropologie inspired DIY? Me! When I spotted some quirky pants with patches at Anthropologie I added patches to my mental crafting to do list. Days passed, months passed, and finally yesterday my mental to do list became one item shorter.

I found a pair of once loved pants in the corner of my closet where the “I don’t wear you but I don’t want to give you away” clothes live. Since it’s been quite some time since they’ve seen light the risk of ruining them with the project was well worth it. Months ago I mentally identified a fabric that I originally bought to make a scarf as perfect for patches.

Pants were purchased about one year ago at Marshall's.

Pants were purchased about one year ago at Marshall’s.

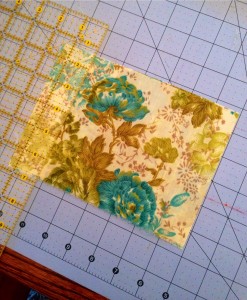
I cut out two rectangle pieces of the floral fabric for the patches. Although I wasn’t covering holes with the patches I still added some fusible interfacing to make it easier to get the thin and at times slippery fabric in place.
Floral fabric compliments pants.

Floral fabric compliments pants.

I didn't worry too much about the interface being the same size of the fabric because it's easier to trim after it's sewn.

I didn’t worry too much about the interface being the same size of the fabric because it’s easier to trim after it’s sewn.

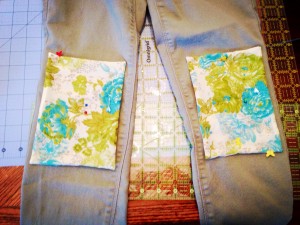
Once turned inside out I had two squares ready to be pinned, fused, and then sewn to the pants.

image_11

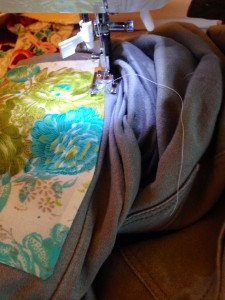
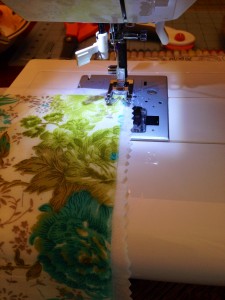
If you’re looking for a challenge try machine sewing patches to pant legs — especially tight pants! Ultimately I was able to do it. These can be sewn on by hand but the machine’s speed appealed to me much more than hand stitching.

Patience is key!

Patience is key!

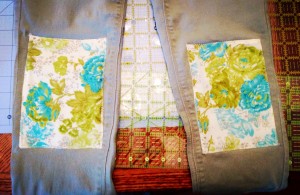
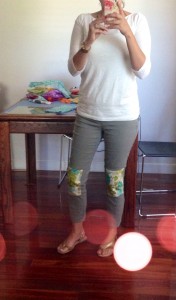
All finished!

Successful Anthropologie inspired DIY!

Successful Anthropologie inspired DIY!

I loved them so much that I even added a little glitz to the picture.

I loved them so much that I even added a little glitz to the picture.

What I love most about this project is that the patches can be any shape and any size, think circles, squares, hearts…an infinity of options!

Happy Birthday Brother!

I will start by saying that the brother referenced in this post has a birthday in January not April. Back in January I wrote in his card that I would make cornhole bags for him when he finished constructing his board. I must confess that when the text arrived that he was ready for the bags, I had almost forgotten I’d promised them!

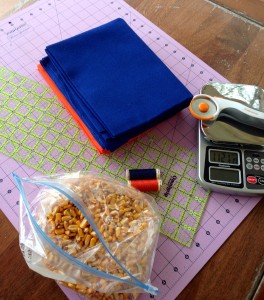
Cornhole bags are fairly simple to make but I did want to make sure that they met regulation requirements. The first step in making the bags was to gather the supplies. That included duck cloth in two colors (my brother wanted Gator inspired orange and blue), thread in matching colors, cutting mat, rotary cutter, scale, and dried corn.

Supplies for cornhole bags

Supplies for cornhole bags

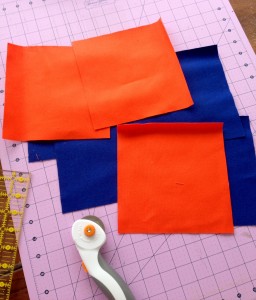
Next I cut out eight squares of each color in order to make a total of eight bags.

Using a rotary cutter makes this very easy.

Using a rotary cutter makes this easier.

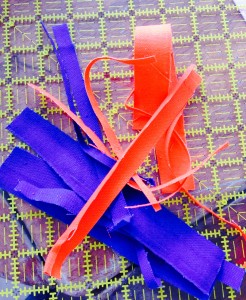
A picture of fabric scraps for no particular reason.

I will one day figure out a project for fabric scraps.

I will one day figure out a project for fabric scraps.

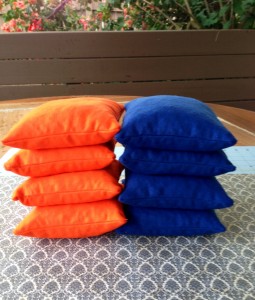
After the fabric squares were cut I sewed each bag together leaving an opening for fill. I then weighed the corn to ensure that each bag weighed the same to keep the game fair and filled the bags. Then I sewed the openings. Since this was a birthday gift I also made a tote to store the bags. This will hopefully help in keeping the bags dry and away from animals. Here’s the finished product:

Ready!

Ready!

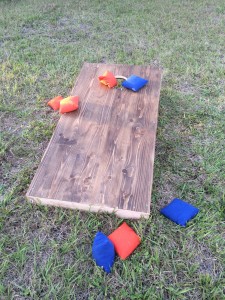
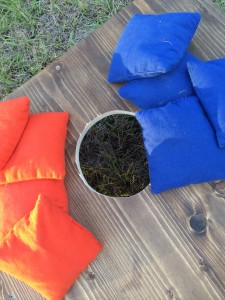
Here they are in use on a beautiful day (which is everyday) here in Naples, Florida.
photo 3

photo 4

photo 2

Happy birthday to my brother and happy cornhole playing!